How to Use NotebookLM to Study a PDF Without Losing the Source Trail
A source-map-first NotebookLM workflow for turning PDFs into checkable notes before you ask another model to explain or quiz you.
Start with a map, not a summary
When a PDF matters, my first NotebookLM request is deliberately boring. I ask for the document structure, the important claims, and a source cue for each claim. I do not ask for polished notes yet.
Every note has to answer two questions: what does the PDF say? and where can I check it? If I cannot answer both, the note stays out of the final study guide.
Tested with
| Field | Value |
|---|---|
| Test source | 1 synthetic PDF-style study handout |
| Prompt | 1 same-source study prompt |
| Runs | 1 NotebookLM run + 1 ChatGPT run |
| Evidence | Screenshots, raw outputs, scoring sheet, unsupported-claims log |
| Last checked | 2026-07-09 |
Source-map example
A source map is not a summary. It is a small audit table that tells you what the PDF covers and where you should check important claims.
| Source section | What it says | Source cue | Study action |
|---|---|---|---|
| Attention | Learning starts with selective attention, not passive exposure. | opening concept section | Make one recall question. |
| Working memory | Working memory has limited capacity. | working-memory paragraph | Watch for overloading in explanations. |
| Retrieval practice | Remembering improves when you practice recall. | retrieval-practice section | Turn notes into closed-book questions. |
| Spacing | Review is better when spread across days. | review-plan section | Schedule spaced retests. |
| Recognition vs recall | Recognizing an answer is easier than producing it. | contrast section | Use short-answer questions, not only MCQ. |
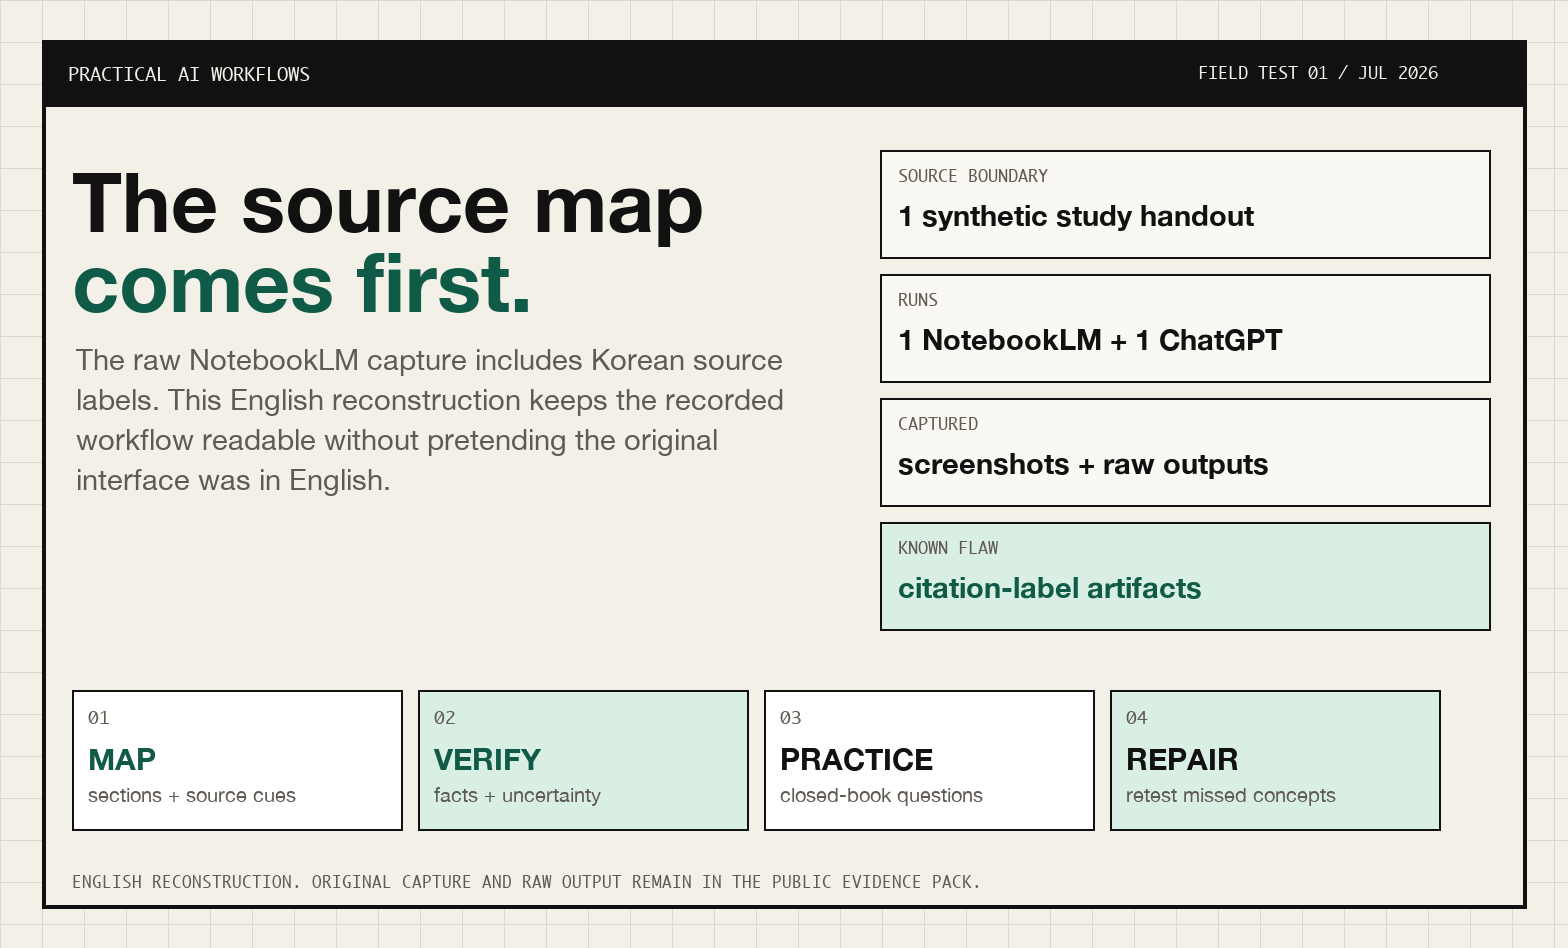
This is an English reconstruction of the workflow, not a replacement for the raw evidence. The original Korean-language NotebookLM capture and exported output remain in the public evidence pack.
If NotebookLM cannot give you a source cue for a high-stakes claim, treat that claim as unverified. Do not copy it into the final notes yet.
The “source trail” rule
For every important note, add one of these labels:
| Label | Meaning | What to do |
|---|---|---|
source fact | Directly supported by the PDF | Keep, but preserve the source cue. |
study explanation | Simplified from a source fact | Useful, but do not cite it as the PDF. |
generated example | Added to help understanding | Keep only if clearly labeled. |
check source | Not clearly supported yet | Verify or delete. |
This is the difference between using NotebookLM as a study assistant and accidentally turning it into a fake textbook.
Where NotebookLM earns its keep
| Use case | Better move | Why |
|---|---|---|
| First pass on a long PDF | NotebookLM source overview | It keeps the uploaded source at the center. |
| Extracting definitions | Ask for term, source quote, and section cue | Definitions are easy to distort if copied without context. |
| Building study notes | Ask for source-grounded bullets, then verify | Notes become safer when each bullet has a source trail. |
| Finding exam traps | Ask for contrasts and likely confusions | Contrasts are often where students lose points. |
| Making quizzes | Move verified notes into ChatGPT afterward | Quiz variety is useful after the notes are grounded. |
| Writing citations | Return to the original PDF | AI source links help navigation, but the PDF is the authority. |
What I would do first
Start with NotebookLM when the PDF matters. Do not start by asking for a polished study guide. Start by forcing the tool to show its source trail.
A good NotebookLM session should produce:
- a one-page source map,
- definitions with source locations,
- confusing pairs or contrasts,
- a short list of claims to verify manually,
- a checklist you can reuse for the next PDF.
The source-first workflow
Step 1: Create a source map before summarizing
Ask:
Use only the uploaded source.
Create a source map with:
1. the main sections of the PDF,
2. the key concept in each section,
3. 1-2 claims worth checking later,
4. source cues or citations for each item.
If the source does not support something, write: Not in source.
This prevents the common failure mode where the first answer sounds complete but skips the structure of the PDF.
Step 2: Extract definitions as a table
Ask for a table, not a paragraph:
| Term | Plain-English meaning | Source cue | What students confuse it with |
|---|---|---|---|
| Concept | Meaning from the PDF | Page/section/citation | Neighbor concept |
Tables make weak source trails easier to notice.
Step 3: Ask for contrasts, not just summaries
Use:
Based only on the source, list the concepts that are easiest to confuse.
For each pair:
- explain the difference in one sentence,
- quote or cite the source cue,
- give one exam-style trap.
Only include pairs supported by the source.
If the PDF does not contain enough contrasts, the correct output is a shorter list, not invented coverage.
Step 4: Build a verified note pack
Copy only the notes that have source cues. Label anything else as "check source." A compact note pack should include:
- source map,
- key definitions,
- confusing contrasts,
- formulas or named steps,
- weak claims to verify,
- a short retrieval-practice plan.
Step 5: Use the checklist before moving to ChatGPT
Before you paste notes into ChatGPT, check:
| Check | Pass condition |
|---|---|
| Important definitions | Traceable to the PDF |
| Claims with numbers/dates/formulas | Checked against source |
| Examples | Clearly marked as source example or generated example |
| Uncovered sections | Listed instead of silently ignored |
| Unsupported claims | Removed or labeled |
A working session plan for a messy PDF
Here is the version I would use for a class handout, policy PDF, research explainer, or internal training document. The time boxes are a planning aid, not benchmark data.
| Minute | Action | Output | Why it matters |
|---|---|---|---|
| 0-5 | Upload the PDF and ask for a section map | Section list with source cues | You see the document structure before the summary. |
| 5-12 | Ask for key terms and contrasts | Definition table | You catch concepts that are easy to mix up. |
| 12-20 | Ask for unsupported or uncertain claims | Verification list | You stop weak claims before they enter your notes. |
| 20-30 | Build a clean note pack | Source facts + study explanations | You keep the source layer separate from the learning layer. |
| 30-45 | Move verified notes into ChatGPT | Quiz + answer key + repair plan | You turn reading into retrieval practice. |
The important part is not the exact timing. The important part is the sequence. If you ask for a polished study guide at minute zero, you may get a useful-looking answer before you know what the PDF actually supports. If you start with a source map, the later study guide has something to anchor to.
A good first NotebookLM answer should feel slightly boring. It should name sections, terms, and source cues. That is a feature, not a bug. The exciting output comes later, when you use the verified notes to build questions, examples, and a review plan.
What to do when NotebookLM gives a vague answer
If the answer says something broad like "the document explains memory" or "the source discusses learning strategies," do not accept it yet. Ask a narrower follow-up:
For each claim in your last answer, add the source section or quote that supports it.
If a claim is an interpretation rather than a direct source fact, label it as interpretation.
If the source does not support it, remove it.
Then review the answer as a table:
| Vague output | Better follow-up | Keep or reject? |
|---|---|---|
| "Retrieval practice improves learning." | Where does the source say this, and how does it define retrieval? | Keep only with source cue. |
| "Students should review every day." | Does the PDF say daily review or spaced review? | Rewrite if the wording overstates. |
| "Working memory is like a computer cache." | Is that metaphor in the source or generated? | Keep only as generated explanation. |
| "Recognition is less effective than recall." | Does the source compare them directly? | Keep if the contrast exists. |
This extra step is what makes the notes defensible. You are not trying to make NotebookLM slower. You are making the output easier to trust.
Mistakes that make PDF studying worse
| Mistake | Why it hurts | Safer replacement |
|---|---|---|
| Asking for one giant summary | It hides missing sections and weak claims. | Ask for a section-by-section source map first. |
| Copying citations without opening the PDF | Source cues can still point to compressed or partial context. | Check important claims in the original document. |
| Mixing examples with source facts | Generated examples can become fake evidence in your notes. | Label examples as generated. |
| Turning everything into multiple choice | Recognition feels easier than recall. | Use short-answer questions first. |
| Deleting the uncertainty list | You lose the audit trail. | Keep a small check source section at the end. |
If you only change one habit, change this: never let an AI answer remove the uncertainty from your workflow. Good study notes should show what is known, what is simplified, and what still needs checking.
When NotebookLM is not enough
NotebookLM is strongest when the source itself is the center of the task. It is weaker when you need a long tutoring conversation, many variants of a quiz, or a custom review plan around your schedule. That is where ChatGPT becomes useful after the source pass.
Use NotebookLM for:
- source maps,
- document-grounded definitions,
- citation/source cue checks,
- finding unsupported claims,
- keeping a document-centered workspace.
Use ChatGPT after that for:
- rewriting verified notes in simpler language,
- turning notes into short-answer questions,
- generating application questions,
- diagnosing wrong answers,
- creating a three-day or seven-day review plan.
The handoff should be explicit. Paste only verified notes, not the whole messy output, and tell ChatGPT that the notes are the source of truth. That keeps the second tool from inventing a new version of the PDF.
How to avoid hallucinations and source drift
The safest habit is to separate three layers:
- Source facts: what the PDF actually says.
- Study explanations: simplified explanations created from those facts.
- Practice material: quiz questions, answer keys, and review plans.
Do not mix the layers. If a simplified explanation adds a metaphor or example, mark it as an explanation, not a source fact.
Prompt to compare both tools yourself
Use this in NotebookLM first:
Use only the uploaded PDF.
Create a source-grounded study packet with:
1. source map,
2. top 12 definitions,
3. five confusing concept pairs,
4. ten likely quiz questions,
5. a list of unsupported or uncertain claims.
For every important item, include a source cue.
Then move the verified packet into ChatGPT and ask it to turn the material into practice questions and a review schedule.
Copy the checklist
Download the NotebookLM Study Checklist
Use it whenever a PDF is important enough that you need to explain it later without losing the original source trail.
What this is based on
This guide is based on the same source-first workflow used in the site's NotebookLM vs ChatGPT test, plus NotebookLM's official source-grounded product documentation. It avoids benchmark claims and does not say NotebookLM is always more accurate. The claim is narrower: a source-centered workflow makes checking easier.
Sources:
Limits
NotebookLM can still produce errors, miss context, or over-compress a dense PDF. Source cues are navigation aids, not a substitute for reading the original document. For graded work, citations, research, or professional decisions, verify the original PDF directly.
Bottom line
Use NotebookLM to anchor the PDF, not to replace it. Your first useful output should be a source map and verified note pack. Then use ChatGPT or another tutor-style tool only after the source trail is already clean.